Natural Hair Tips: 5 Steps You Need to Know for Detangling Your Natural Hair
With summer around the corner, it’s time to let your hair down! Here are some helpful tips for detangling your natural hair and flaunting your curls!
By: Emily-Ann
Welcome back to another post about your natural hair. I know it’s been a minute, so without further a due let’s get right into it. I know with summer on your mind, many of us are taking out those braids and maybe looking to do wash day. Wash days can be time-consuming and especially for those of us wearing protective styling. I know this process can be annoying, but I have finally got it down packed when it comes to detangling.
In preparation for wash day, my hair tends to have a lot of product build up. Needless to say, my hair is really good at letting me know when its time for a wash. I have listed the steps I used that have been the most successful for me lately.
Step1. Part your hair in four easy sections; this will help you with the detangling your hair faster. If you have medium-long length, then you will need to do a little bit more sectioning. Try parting your four sections and then again into two more sections and proceed from there.
>> RELATED: Natural Hair Care Products For Black Hair: What’s in Your Spray Bottle?
Step 2. Taking a section of your hair, spray water or have on hand your spray bottle mixture ready for application. Lightly spray the hair to prevent unwanted snagging and tugging of the hair. You never want to do this on really dry hair as it will only cause more damage than good.
Step 3. Take the ends of your hair and finger detangle the ends and remove any (single strain knots) ssk(s) or shedding hair. It may take a minute or two with this step if you have medium-long hair. This step may be tedious, but worth it to maintain healthy length retention. Once you’ve finger detangled your hair, you can now use a wide tooth comb to release the shedding hair. Start from the ends and work your way up through the sections of your hair.
Step 4. Two strain twist your hair until all sections are complete. I like to add pretreatment to my hair like light oil and sit under a hooded dryer, or you can steam your hair. This will help open up the hair follicles and stimulate absorption of conditioner or treatment.
Step 5. I like to wash my hair in the two strain twist and then apply many DC masque or treatment to the hair. Wash as usual and retwist hair, and at this point I like to let my air dry with my favorite product. Lately, Shea Moisture’s extra-moisture detangler is my go-to product for wash days!
I find it doubles as great leave in for me, and re-apply about three more times throughout the week. My hair is left feeling super soft and easy to manage. I have tried many other products, but I keep coming back to this one. It is now a must-have and by far a staple of mine. Hopefully, I have helped someone who is finding detangling a challenge. Keep checking back with us for more helpful tips with natural hair!
Don’t forget to like, comment, and share this post with another natural beauty!
YOU MAY ALSO BE INTERESTED IN:
SHARE TO SOCIAL MEDIA
Natural Hair Tips: Top 5 Hair Gels For Natural Hair
What are the best hair gels to use for natural hair? We’re giving you a list of the top 5 hair gels all natural hair women need to know!
By: Emily-Ann
Welcome to 2019 naturals!
What are the best hair gels to use for natural hair? In no particular order, these gels will work for even the naturals with thick and curly hair. I never want to leave out my type 4 naturals, I got something on this list for you too!
1) Shine ‘n Jam Conditioning Gel Extra Hold
This formula states it’s a moisturizing, non-flaking, non-greasy hold, with honey extract to help strengthen hair. Now being that my hair is type 4 with low porosity, I can appreciate the honey ingredient. When looking at the list of ingredients water was the first one! This to me means everything, and I love the appearance, smell and the hold. It did not make my hair flaky at all. I have only tried it on my baby hairs, but if it can pass my baby hair test, it just may work for the rest of my hair. I love the way it smells as well, very light texture, and it doesn't feel heavy at all when you apply it to your edges/baby hairs. This gel is high hold, and can do no wrong to me! So far so good!
2) Edge Hicks Gel
I have absolutely loved this gel and I’d measure it as is a medium to high hold. Edge Hicks Gel, has a thicker appearance and the color is clear. Roughly price point is $14.00 CAD. It may be cheaper for my American counterparts! I used this gel a lot during my earlier days in my natural hair journey. The only complaint I have is that it did flake on my hair and leave a white residue that was not cute. I limited my use to only my edges after that. Smell is great, and has a high perfume smell.
3) Fruit of the Earth Aloe Vera
If you are looking for a more natural way to lay and slay those edges, try using Aloe Vera gel, plus its gentle and great for your hair. This gel is a light hold and it’s best to use a headscarf to help lay down those baby hairs. It’s all natural and aloe vera gel is great for your hair and scalp. It can double as many other things. I use it to help heal scars, itchy scalp, and it has a cooling sensation which I love for those days where you need something that is multifunctional.
4) Gorilla Snot Gel
This gel is for my type 4 natural hair babies. This gel is extremely thick and somewhat sticky in texture. The gel appearance is yellow but the bottle i’m not really too fond of it. The name alone, kind of is a huge turn off for me. I have used this gel a few times. Believe it or not, I was told to try this gel out via Twitter by simply asking, “What gel should I use for type 4 hair?” I purchased this gel at my local beauty supply store. The price I believe is around $5.00 CAD. I found it to a little hard to work with due to the sticky texture, but if you don’t mind then this is the gel to use. I wish they would change the name of the products to be completely honest.
5) Aunt Jackie’s Flaxseed Tame My Edges
This gel caught my eye because it caters to different hair types. Aunt Jackie’s line and collection display a wide range of products. Based on your hair texture, the selection process is much easier and faster so I am here for it! This line is considered to be natural and has no sulfate, free of paraben, no mineral oil, and no petrolatum.
I am aware of eco styler gel which is not on this list. I know that it is still on many lists and a favorite among many. However, I left it out purposely and you can see why here.
If you want to add to our list, please comment below and share this post. Check back for more natural hair tips and tricks here at 247liveculture!
Disclaimer: Note that these are merely suggestions and all products and ingredients may not be for everyone. Make sure to read all labels carefully and use your discretion, and double checklist for any allergies that you may have.
YOU MAY ALSO BE INTERESTED IN:
SHARE TO SOCIAL MEDIA
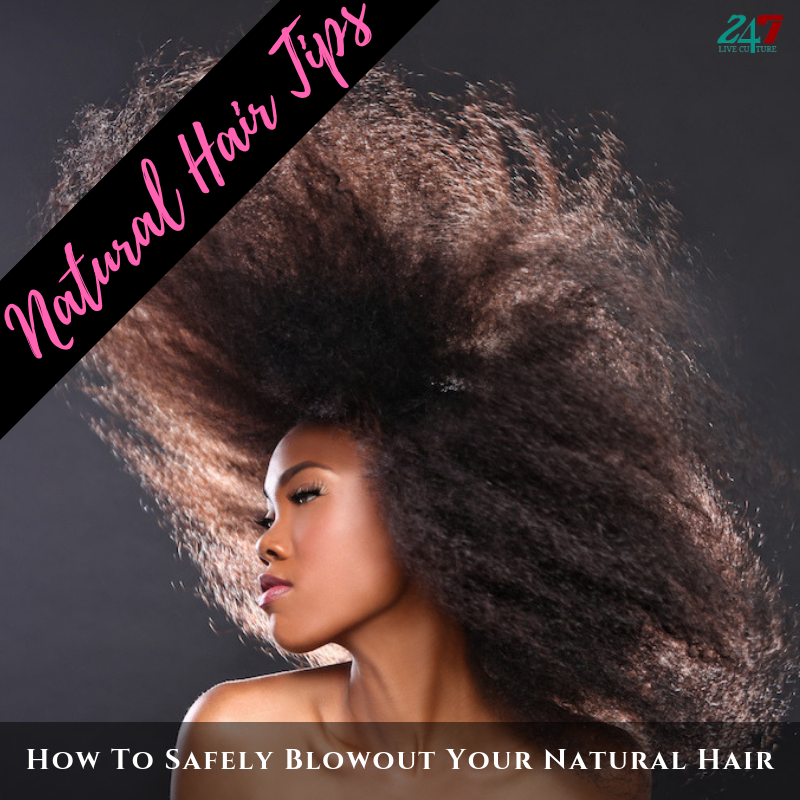
Natural Hair Tips: How To Safely Blowout Your Natural Hair
“Don’t let the shrinkage fool you!” Here are some tips to safely blowing out your natural hair!
By: Emily-Ann
Are you wondering how to safely blow out your natural hair? It’s a question that I’ve been asking myself lately. There are methods that can blow out even the tightest curl patterns. My hair is type 4 and thick, but you couldn’t really tell with the shrinkage. Let it be known there is a saying in the natural hair community, “Don’t let the shrinkage fool you.” I am telling you it is very much a real fact.
Recently, I visited a salon to blow out my hair and the stylist looked like she just finished a workout and was sweating by the end of my appointment. She had to switch between multiple attachments before finding the right one. While I was not entirely happy with my results, it got me thinking, maybe there is an easier way. I did a quick search and of course, I went to my favorite website, Youtube. One video, in particular, caught my attention. The title jumped out at me because of healthy hair. Having healthy hair motivates me to keep going on this natural journey.
>> RELATED: Yes, Black Girls Do Have Long Natural Hair
How to: SAFELY Blow Dry THICK, KINKY NATURAL HAIR | Reduced Manipulation & Breakage!!!
This Youtuber explains that she uses two different methods to blow out her naturally kinky hair. I love watching this naturalista because we have the same hair type. I may have to adjust accordingly in order for my hair to achieve the same results.
This natural beauty mentions two methods using slight tension to help blow dry your hair. You will need your Denman brush for detangling, heat protector, wide tooth comb, and leave-in conditioner. I use a heat protector with Aragorn oil because my hair loves it!
Tension Method, achieved by pulling the hair straight, and blow drying the roots while applying slight tension. Remember to blow-dry in small sections, to all sections of the hair until fully blown out. You can use the denman brush for the ends to help with the getting your hair cuticle to lay flat.
It is also a good idea to do hair with a cold shot at the end to close your hair cuticles. It’s the same idea as washing your hair. You add heat to open the cuticles and cold to shut them and seal in the moisture or set a style. The same idea applies here.
The second method is using the blow dryer attachment heads. Apply the same method but swapping out the brush for the attachment. Don’t forget your leave-in and heat protector! Let us know how you achieve your blow out results. Leave a comment and share your blow out methods.
YOU MAY ALSO BE INTERESTED IN:
SHARE TO SOCIAL MEDIA
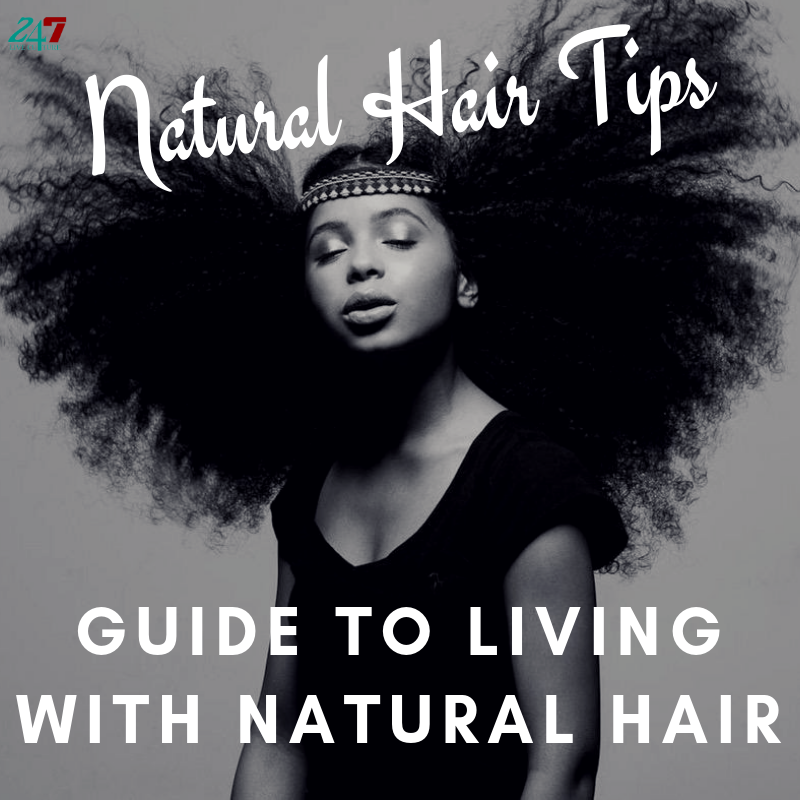
8 Natural Hair Tips You Need to Know: A Guide To Living With Natural Hair
Are you thinking about going natural and need some guidance? The beauty of it lies in self-discovery and identity. Here is the beginner's guide to living with natural hair!
By: Emily-Ann
Are you thinking about going natural? Are you looking for guidance? There are many reasons why many black women have chosen this path. The beauty of it lies in self-discovery and identity.
>> RELATED: Breaking The Rules: Natural Hair Treatment Tips
A new show on Netflix that follows a woman of color and her path of self-discovery called Nappily Ever After, premiered on September 23, 2018. The main character, which is played by actress Sanaa McCoy Lathan, begins by cutting and shaving off all her hair. She sports a short hairstyle and is a bit self-conscious about the new look, which many of us can relate to. Many of us start with a short hairstyle when we do the big chop. The character slowly builds back her confidence by accepting her new image. With the encouragement of good friends she then learns to live life freely. The character’s layers of identity begin to slowly unravel as she walks in her truth. For many women of color, including myself, our hair is a big part of our identity. Looking in the mirror, it’s the first thing that we see and touch.
This show captures one woman's story on starting her natural hair journey! Whether you are transitioning from relaxed to natural or decide to do the “Big Chop”, I believe this show displays a very real reality that speaks the truth about being a black woman. The emotions that come with being natural and realizing what kind of woman you want to be.
>> RELATED: The 5 Step Skin Care Regimen Every Black Woman Should Know
The beginner's guide to being natural isn’t a straight line, but you can find great tips and tricks from bloggers and Youtube including sites like this one. Now I know you are curious about how to get started so here are some guidelines. I am certain you don’t want to have your own screaming moment in the mirror like our character in Nappily Ever After.
Guide To Living With Natural Hair
It will take time getting used to your new look. Freaking out is normal, and your reservations about whether it was the right decision is also normal. I promise you, in the end, you will learn to love your beautiful naturally curly hair and texture.
Write out your hair goals, what is important to you. Create a hair Journal where you can express your thoughts on paper.
Start mapping out how and when you will do your big chop or transition. Mark it on your calendar and map your whole month.
You will encounter friends, family and even coworkers who will have their opinion on your new look. Not everyone will like it. Remember why you are doing this and ultimately it’s your hair on your head.
Confidence will come with growth. Especially, if you have always had long hair. I always like to remind myself, “Its hair, it will grow back it just takes time.”
Purchase the products that are appropriate for your stage in your journey. Read the labels and don’t just buy blindly. Each product tells you what it designs to do for your hair. Find the one that works for you.
Find a natural with the same hair type as yours. What works for them may work for you as well. Take notes and adjust as needed or until you get desired results.
Your hair will let you know what it needs. Believe me when I say it has a voice of its own. Don’t be afraid to switch products during new seasons, it's actually recommended.
Staples
Deep conditioner
Cleansing shampoo
Spray bottle
Favorite oil for moisturizing
A good routine and sticking to it!
Afro pick or wide tooth comb
Plastic cap
Hot oil treatment
Protein treatment
Hair MaskHair bonnet or silk scarf
Silk lining hat or scarf
We love hearing from you! Let us know your story? What are your challenges? If we missed anything let us know by leaving a comment.


Meet Emily-Ann Brown, contributing writer to 247 Live Culture!